


Elevate your FPV cinematography with the ND Filter for DJI O4 Pro Camera-designed to perfect every shot. Choose from ND8, ND16, and ND32 filters to get the ideal exposure and smooth, natural motion blur every time. The UV filter keeps your lens safe from scratches, dust, and UV haze, ensuring clear, sharp footage in any environment. For creators who want flexibility, the Filter Set (ND8/16/32 + UV) adapts flawlessly to all lighting conditions. These filters are lightweight, durable, and easy to install, making them perfect for freestyle pilots and cinematic FPV creators alike. With the new DolphinRC filter lineup, every flight turns into a stunning visual story.
Bullet Points
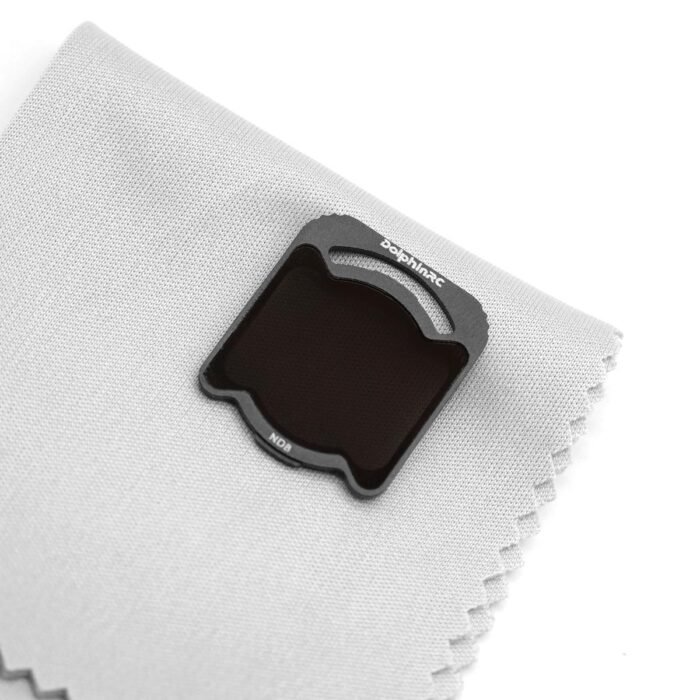
Specifically designed for the DJI O4 Air Unit Pro Camera Module.
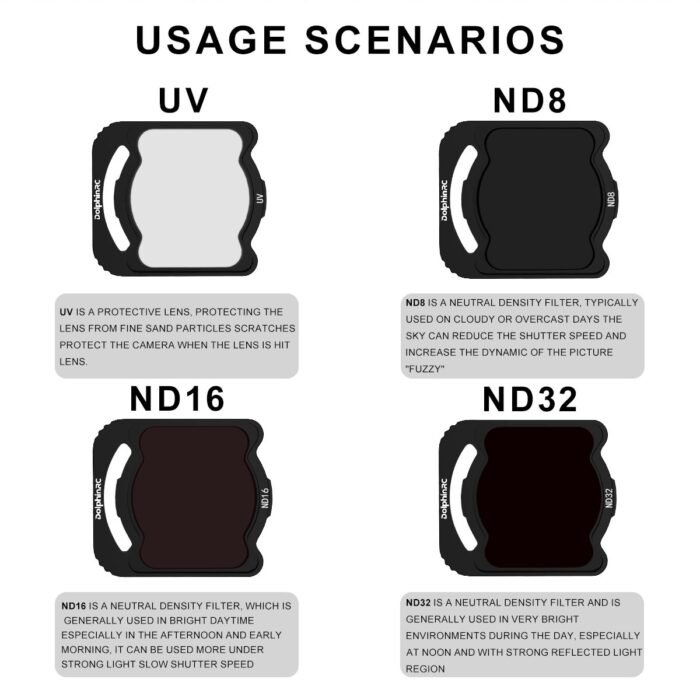
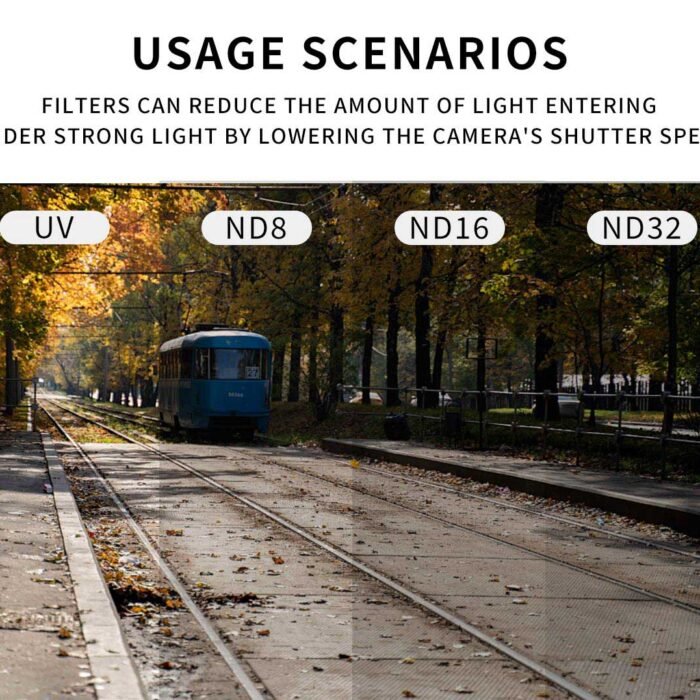
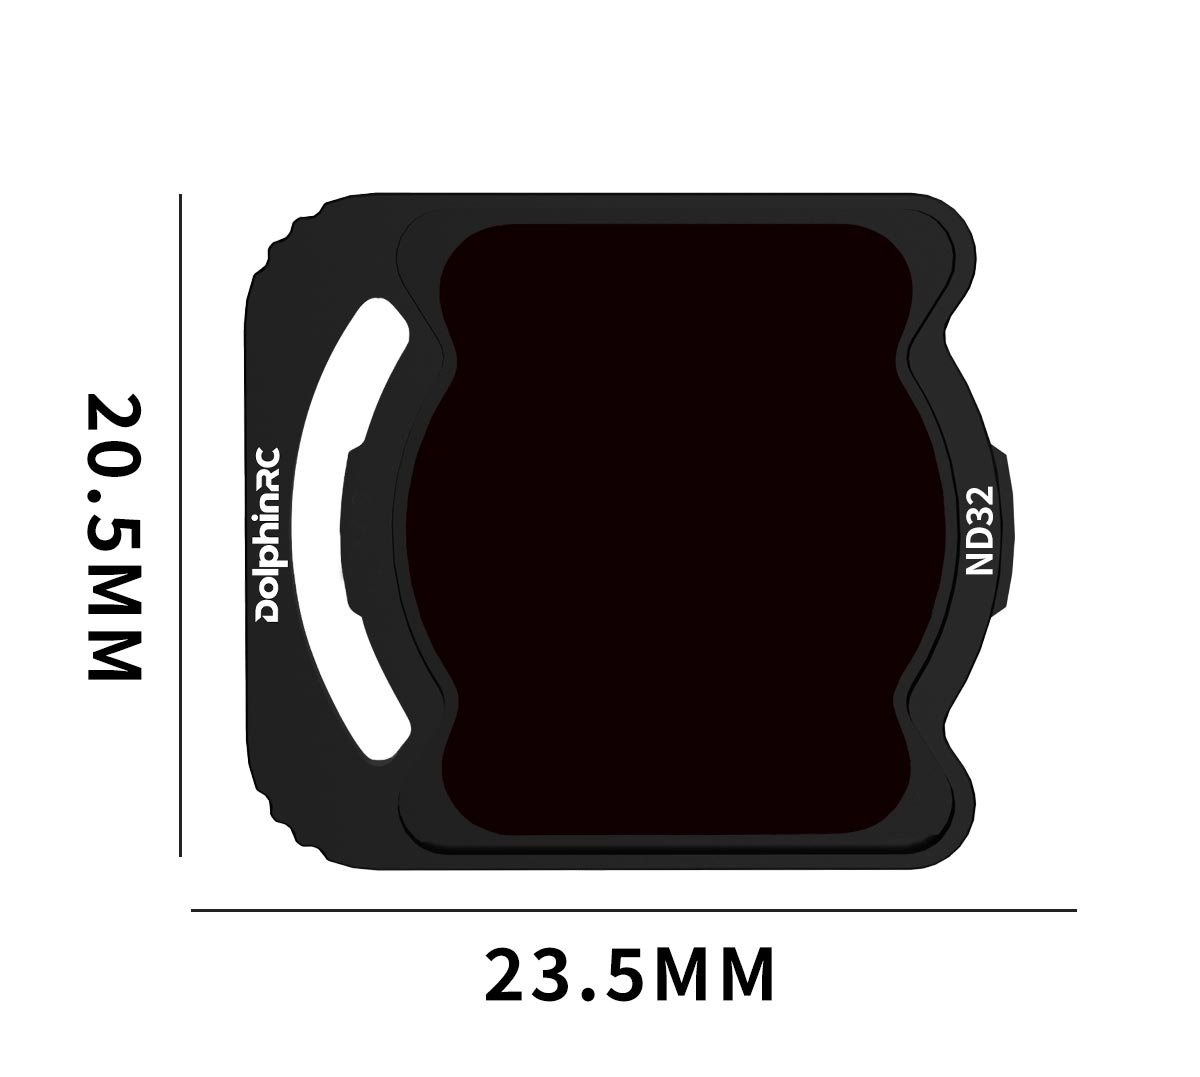
ND8, ND16, and ND32 options to reduce glare, prevent overexposure, and achieve perfect exposure in bright conditions.
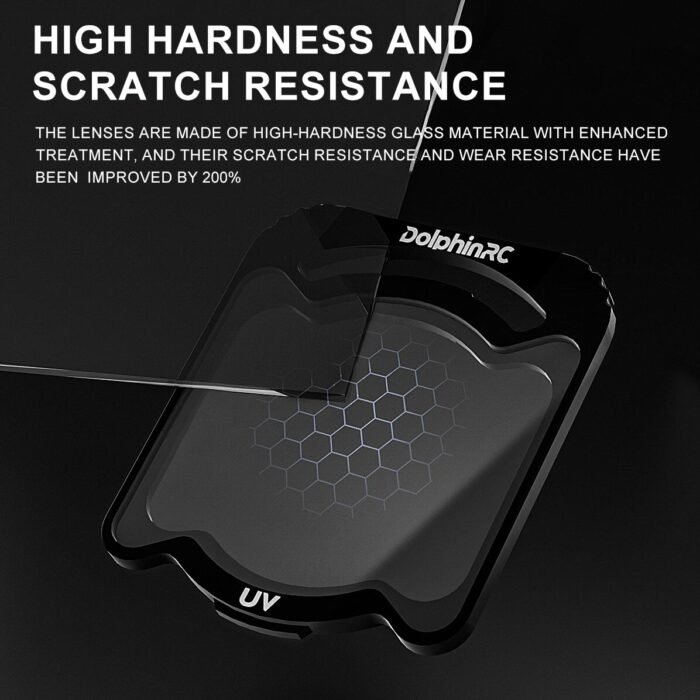
UV filter rotects your DJI O4 Pro Camera lens from scratches, dust, and UV haze, ensuring crystal-clear image quality.
ND8/16/32 + UV filter set for versatile adaptation to all lighting scenarios.
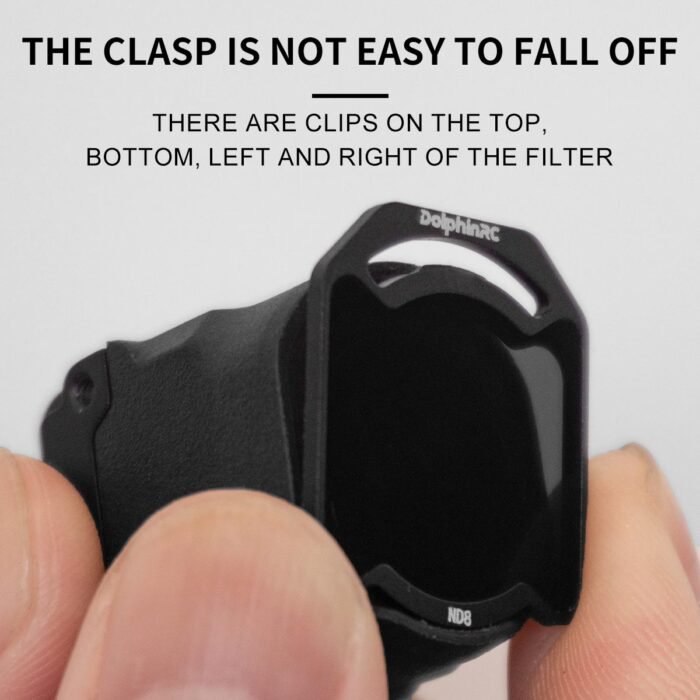
Easy to attach and remove, designed for hassle-free use during flights.
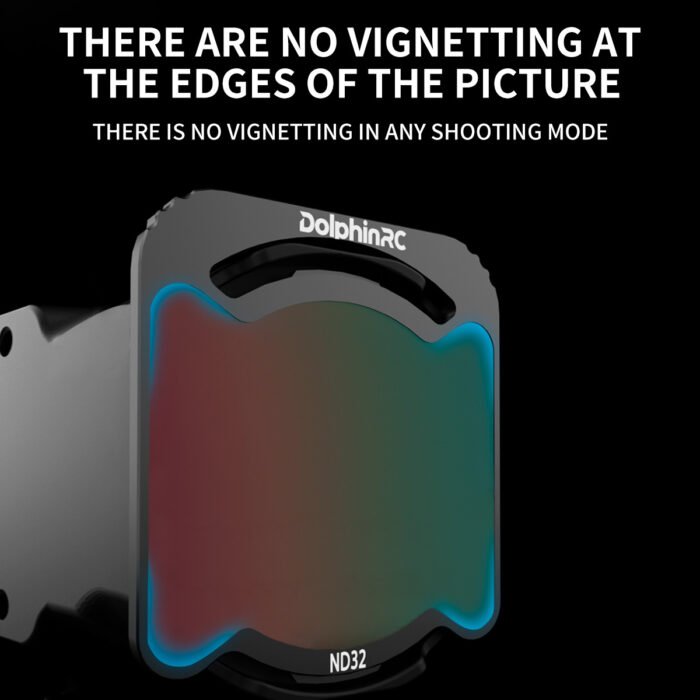
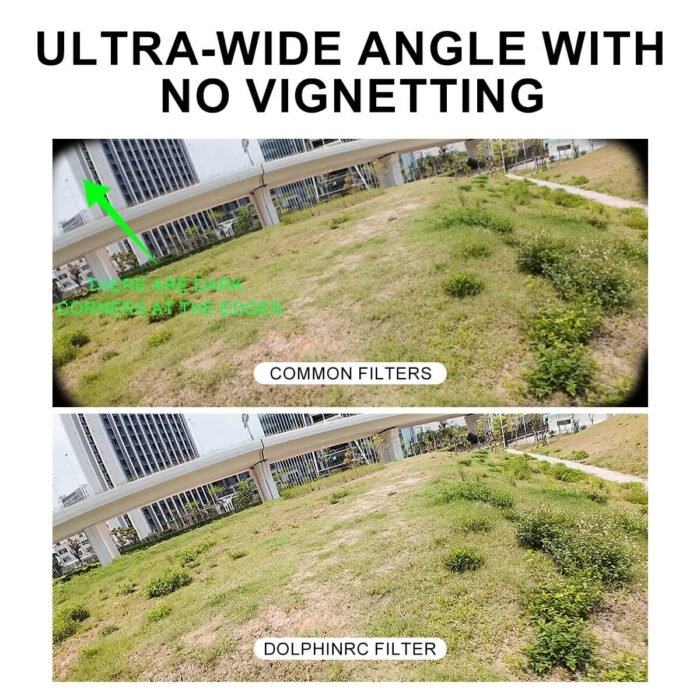
The video has no vignetting, no matter what mode you switch to.
Specifications
Item: Filter Set / UV Filter / ND8 Filter / ND16 Filter / ND32 Filter
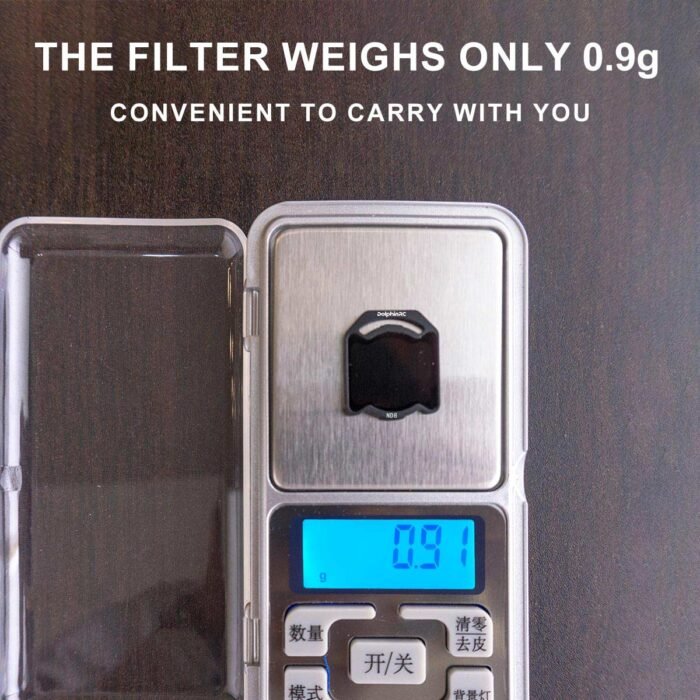
Weight: 0.91g
Compatible Camera: DJI O4 Air Unit Pro Camera
Perfect Exposure, Every Frame
- ND 8/16/32 filters: These filters give you total control over light, reducing glare and overexposure so you can get smooth, cinematic FPV footage in bright conditions. They are ideal for achieving natural-looking motion blur and well-balanced exposure.
- UV filter: Effectively reduces the blue tint caused by ultraviolet rays, resulting in clearer, more vibrant, and true-to-life images. It also provides protection for your camera lens against dirt, sand, and scratches, keeping your shots clean and your equipment safe.
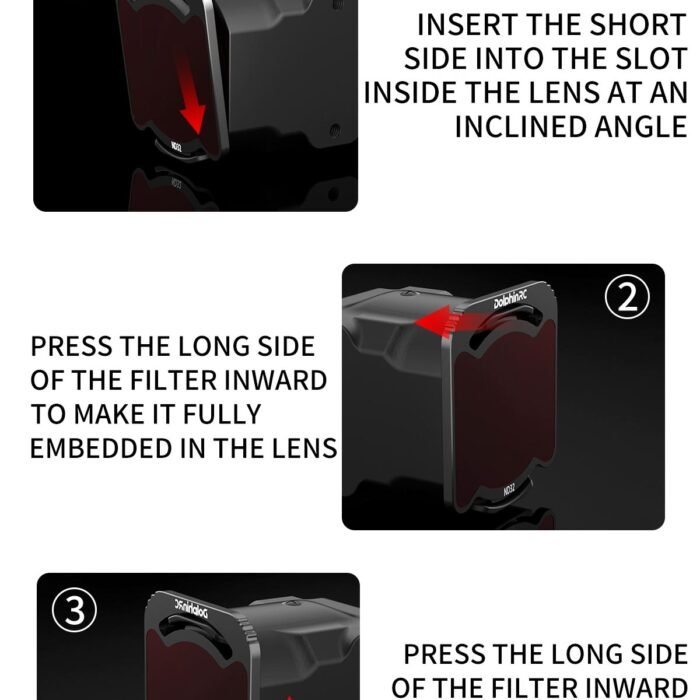
How To Install and Remove?
To install the filter: Insert the short side into the slot inside the lens at an inclined Angle, then press the long side of the filter inward to make it fully embedded in the lens. Subsequently, push the filter towards the long side to the center position to achieve complete fixation.
To remove the filter: Grip the lens mount with your thumb and gently pull it out.
Pro Tip: If the filter feels loose or shakes after installation, use a heat gun to warm the camera housing. Then carefully clamp the camera buckle with a tool until it cools down, restoring it to its original size for a snug fit.
Related products


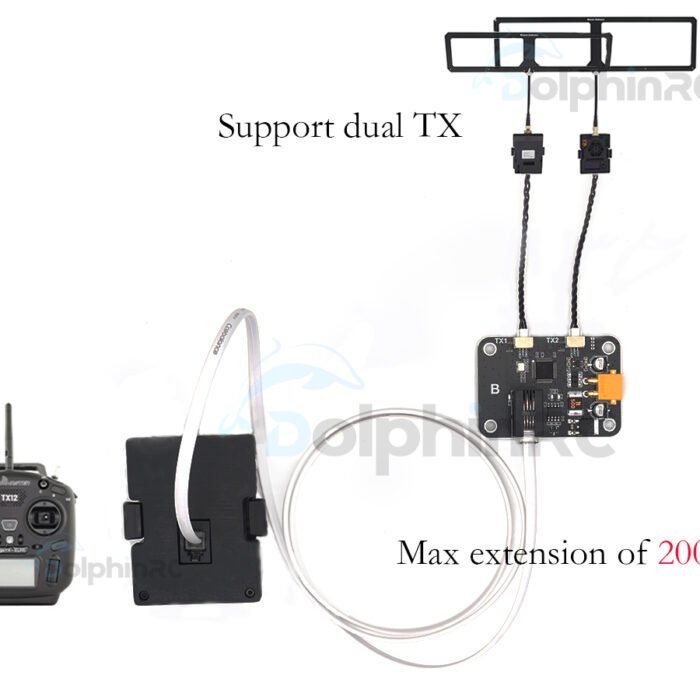
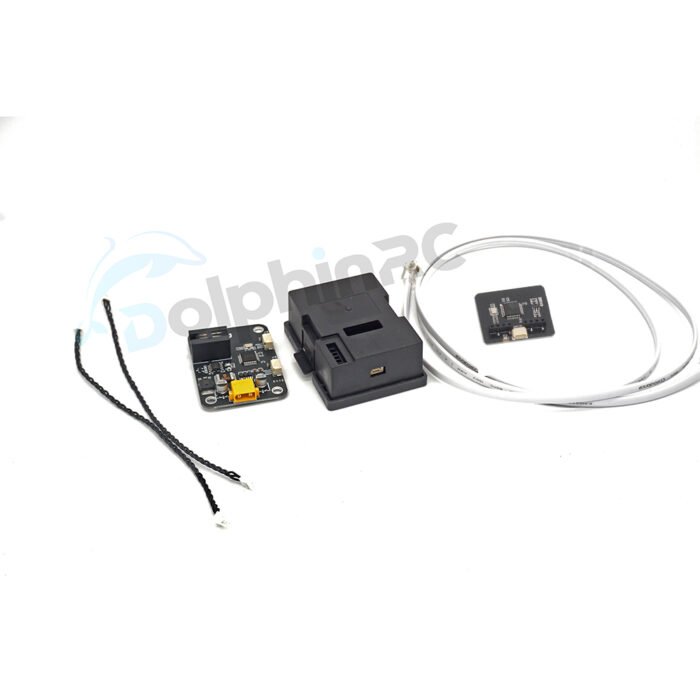
Dual Receiver Transmitter Diversity Board
Price range: $ 17.87 through $ 32.99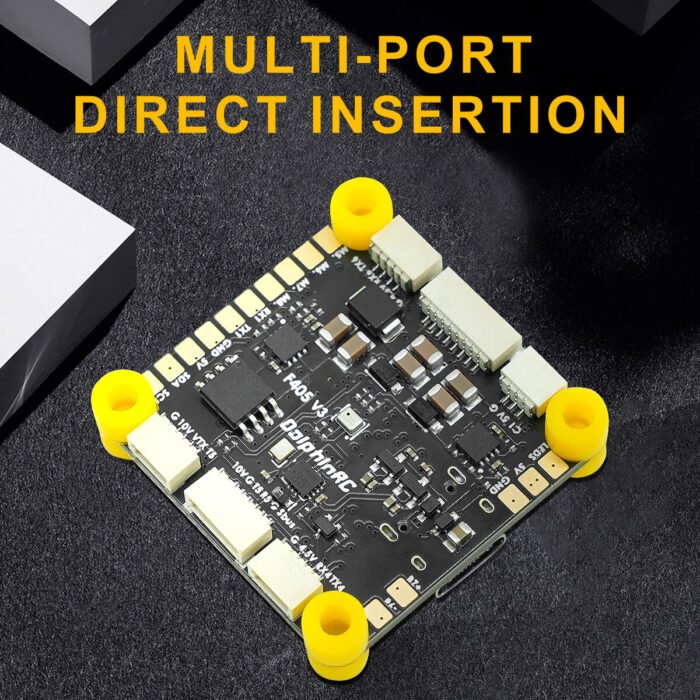
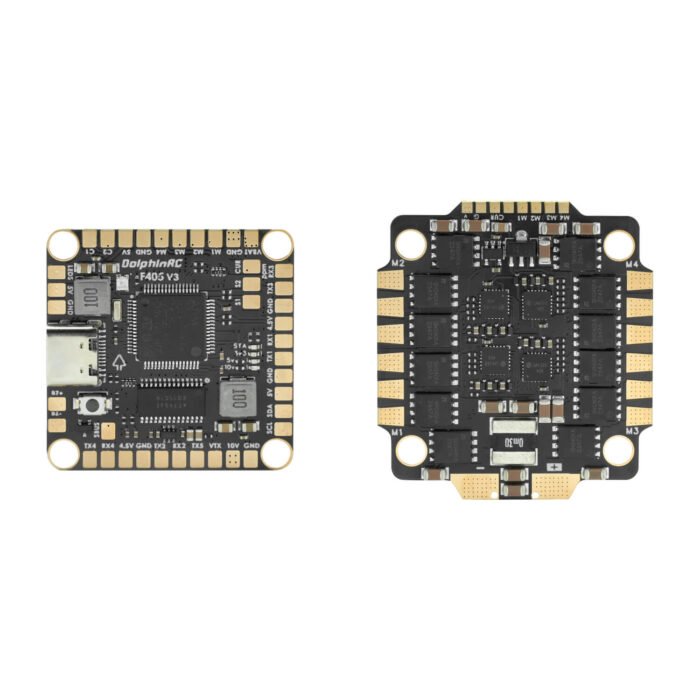
DolphinRC F405 V3 50A 60A STACK
Price range: $ 30.00 through $ 60.00

Dolphinrc 2812 1100KV Brushless Motor
Price range: $ 22.99 through $ 109.99
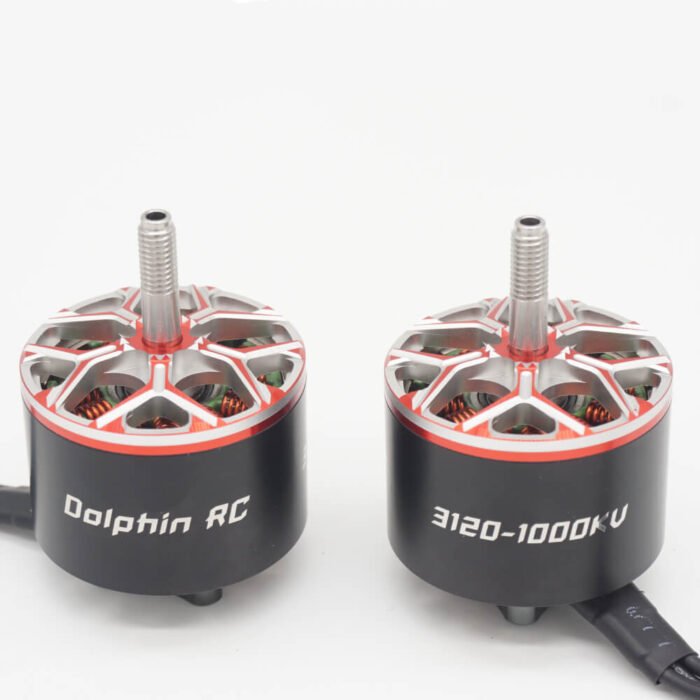
DolphinRC 3120 Brushless Motor
Price range: $ 29.99 through $ 148.99 DolphinRC DJI O4 Pro ND Filter...
Price range: $ 4.99 through $ 19.99