Need help? Send mail:
support@dolphinrc.com
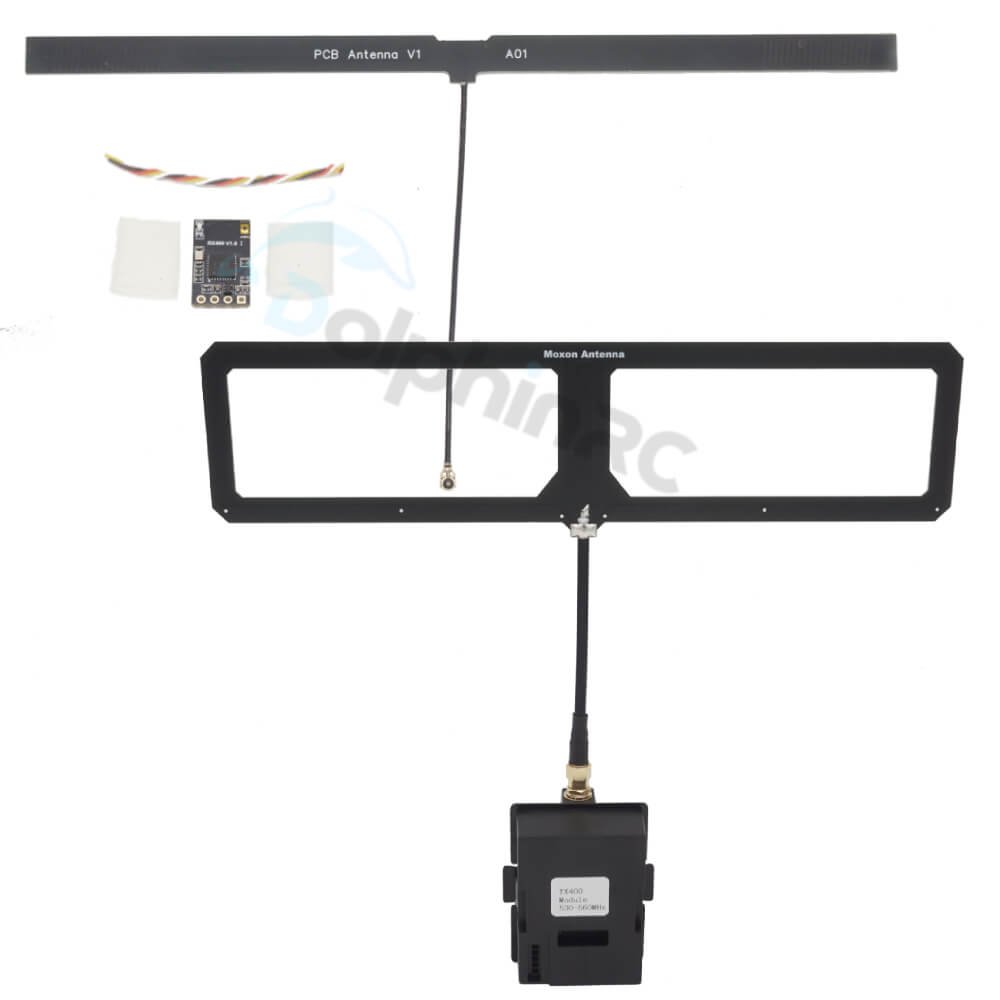
500-560MHz Micro TX RX
$ 12.59 – $ 56.99Price range: $ 12.59 through $ 56.99
🔥 Buy More Save More!
Buy 3 items get 5% OFF
on each productBuy 6 items get 10% OFF
on each productBuy 10 items get 15% OFF
on each productHave any Questions?
Feel free to Get in touch
400 serial receiver or transmitter is based on the ExpressLRS project, an open-source RC link for RC applications. Based on the open-source project, new RF chip was selected, circuit and firmware were redesigned. ExpressLRS retains to achieve the best possible link performance in both speeds, latency, and range. This makes ExpressLRS one of the fastest RC links available while still offering long-range performance. It is also compatible with more diffracting 433MHz radio, longer control and transmission distance, and stronger anti-interference characteristics.
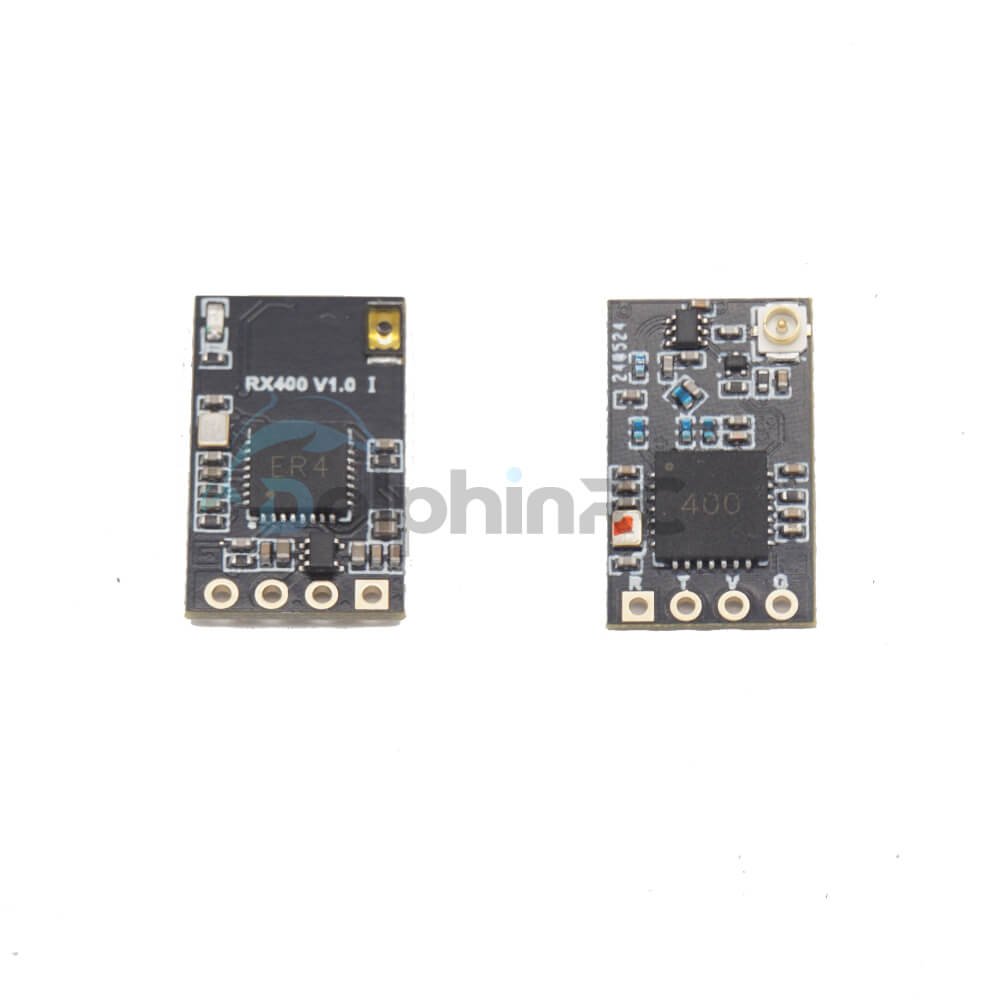
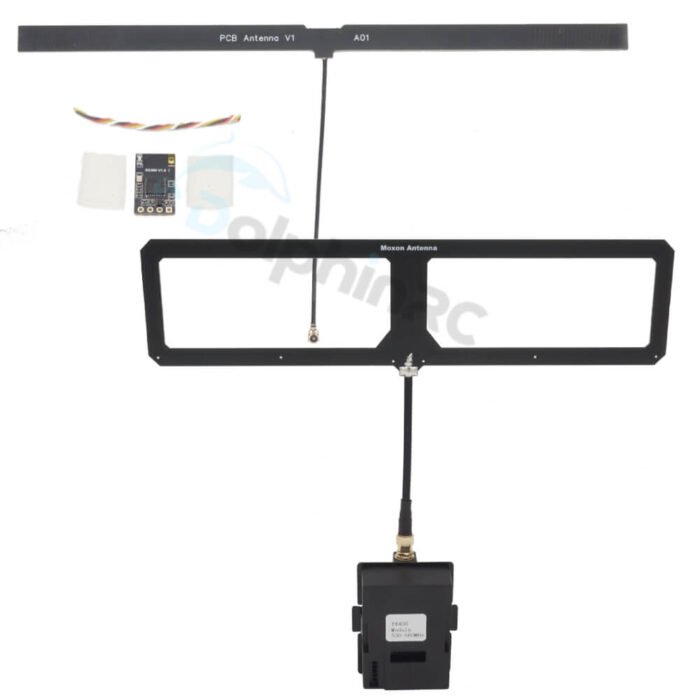
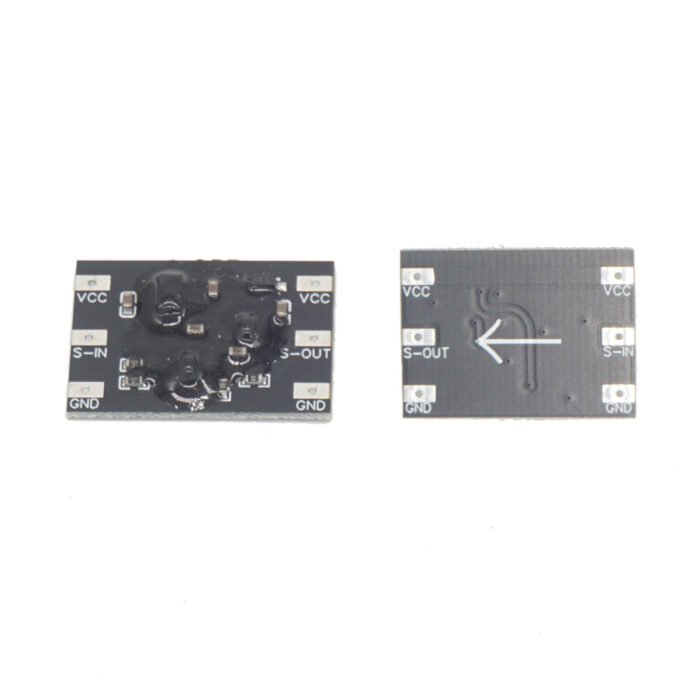
RX400 Receiver
RX400 Nano Receiver
Specification
- Weight: 0.7g (receiver only)
- Size: 12mm*19mm
- Telemetry power: 17dBm
- Default frequency version: 500-560MHz
- Customizable version: customizable frequency range 370-560MHz, bandwidth 20-60MHz
- Input voltage: 5V
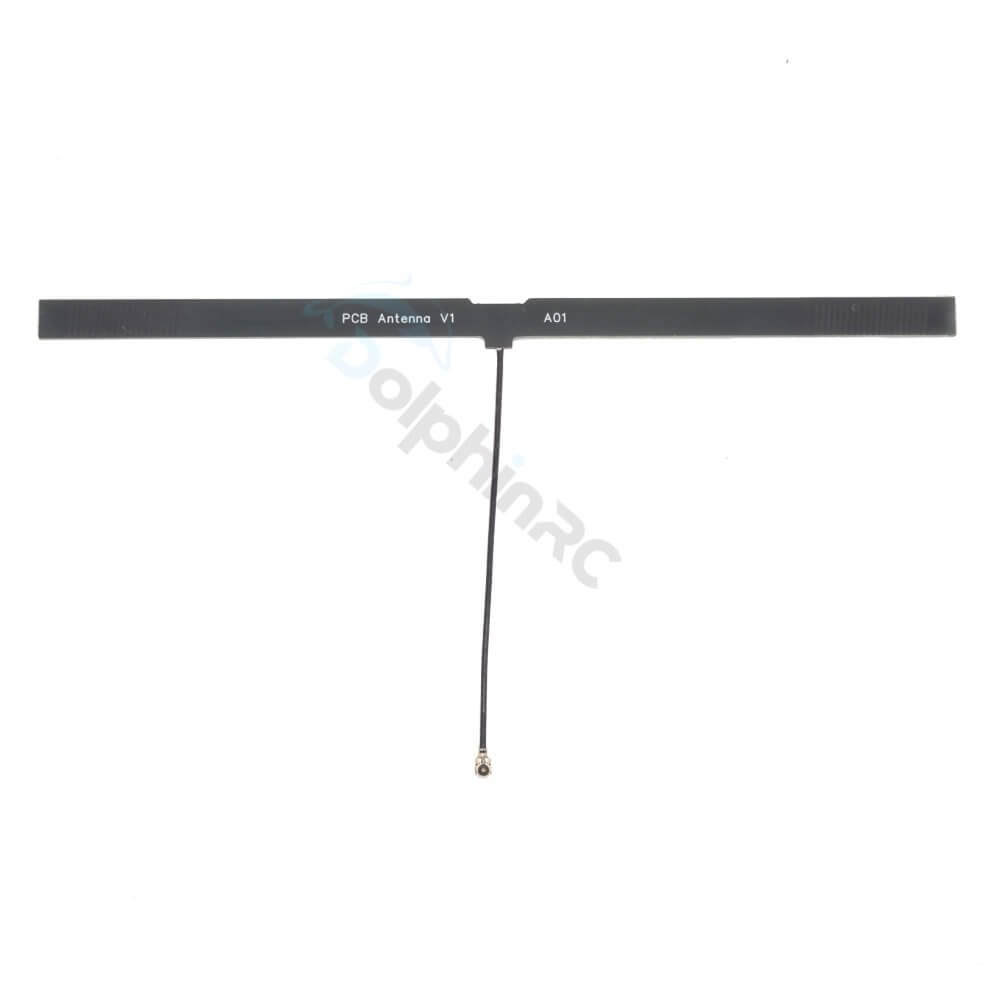
- Antenna connector: IPEX MHF 1
RX400 Nano receiver diagram as show below.
RX400 Nano receiver LED status indication as show below.
| LED status | Description |
| Solid on | Connected successfully |
| Flash double times quickly | Binding status |
| Flash slowly | Connection fail |
| Flash quickly | WIFI upgrade status |
Basic Configuration
ExpressLRS uses the Crossfire serial protocol(AKA CRSF protocol) to communicate between the receiver and the flight controller board. So make sure your flight controller board support the CRSF serial protocol. Next, we use the flight controller with Betaflight firmware to show how to setup the CRSF protocol.
The connection between RX400 receiver and FC board is shown as below.
Enable the corresponding UART(eg. UART3 below) as a Serial RX on Betaflight Configurator “Ports” tab.
On the “Configuration” tab, select “Serial-based receiver” on the “Receiver” panel, and select “CRSF” as the protocol. Telemetry is optional here and will reduce your stick update rate due to those transmit slots being used for telemetry.
Bind
- Enter binding status by plugging in and unplugging theRX400 receiver three times
- Make sure the LED is doing a quick double blink, which indicates the RX400 receiver is in bind mode
- Make sure the radio transmtter or TX module(It must use the corresponding TX400 Micro TX module) enter binding status, which sends out a binding pulse
- If the RX400 receiver has a solid light, it is bound.
Note: Binding once and the receiver will store the binding information. Re-power and the connect successfully auto.
Note: If you reflash firmware of the RX400 receiver with your own Binding Phrase, please make sure the TX module has the same Binding Phrase. The RX400 receiver and the TX module will bind automatically in this situation.
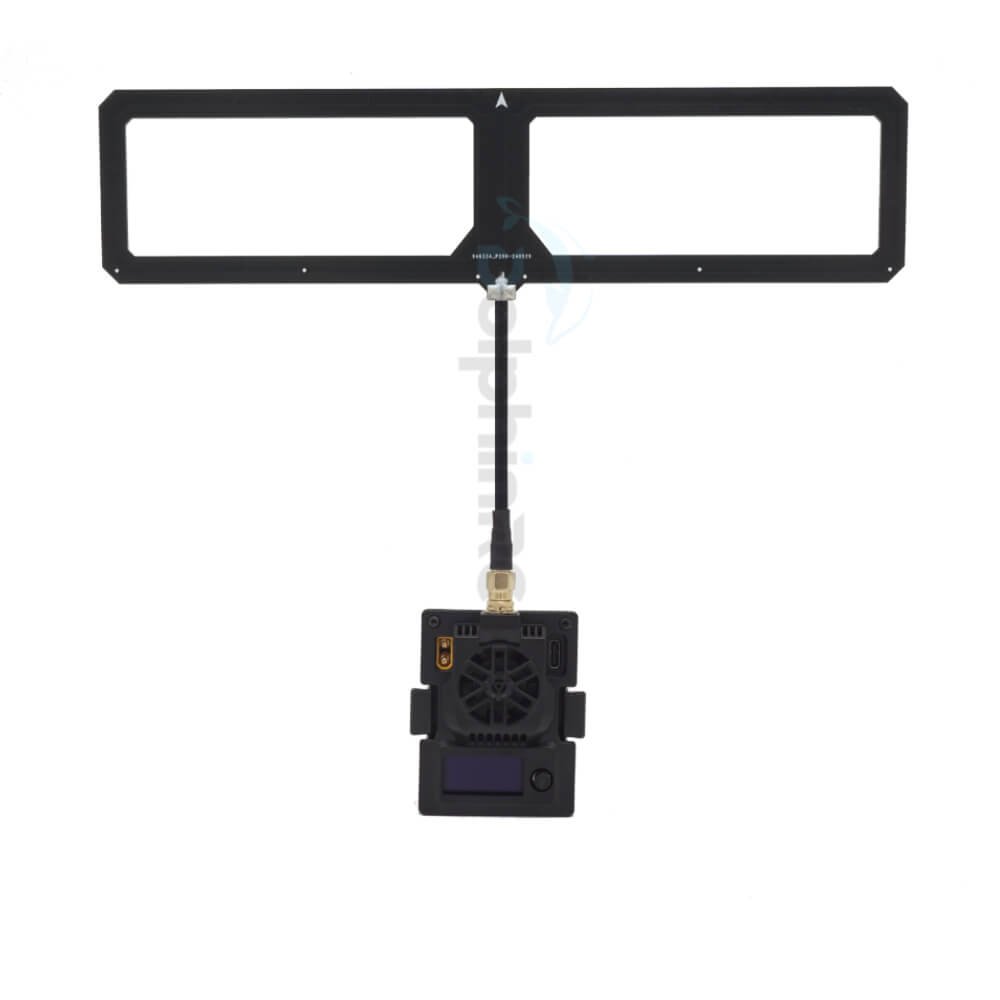
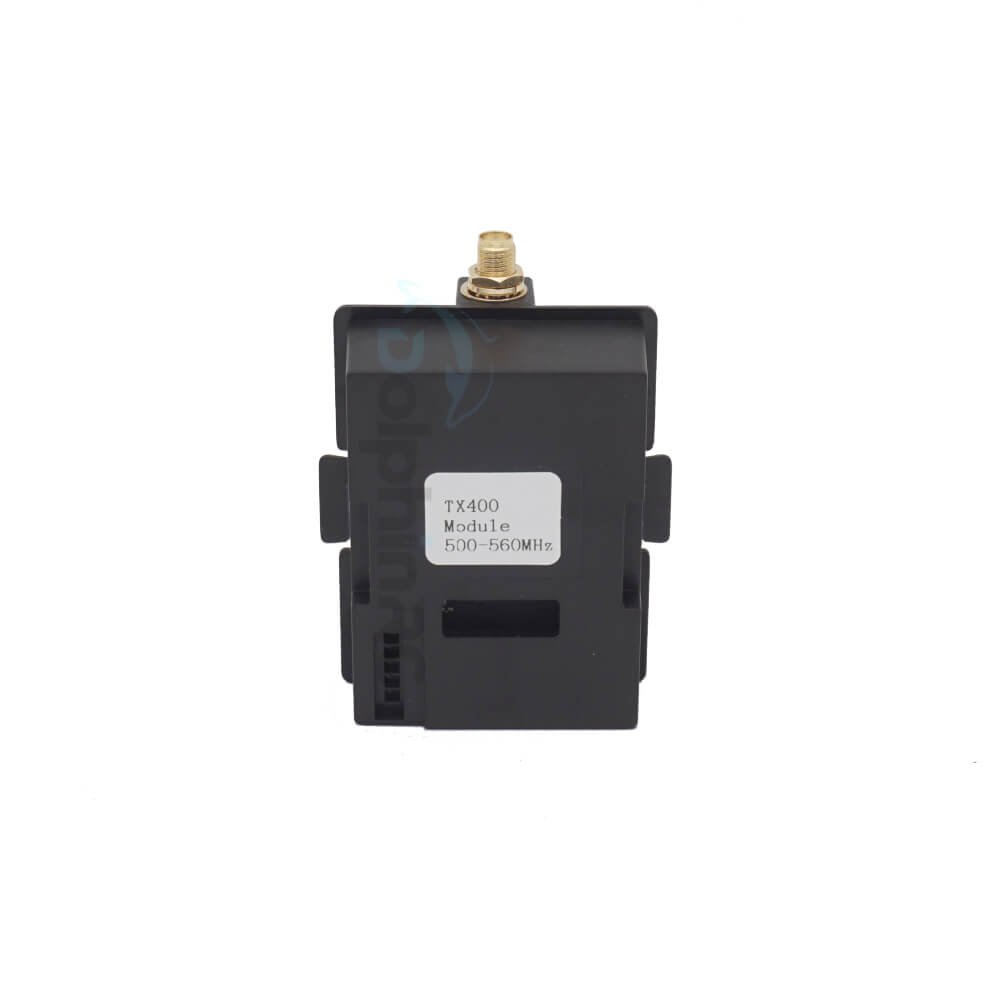
TX500 Micro Transmitter
TX400 Micro Module is based on the ExpressLRS project, an open-source RC link for RC applications. Based on the open-source project, new RF chip was selected, circuit and firmware were redesigned. ExpressLRS retains to achieve the best possible link performance in both speeds, latency, and range. This makes ExpressLRS one of the fastest RC links available while still offering long-range performance. It is also compatible with more diffracting 433MHz radio, longer control and transmission distance, and stronger anti-interference characteristics.
Specifications
- Packet refresh rate:D50Hz/25Hz/50Hz/100Hz/100Hz Full/200Hz
- Output power:100mW/250mW/500mW/1000mW
- Default frequency version: 500-560MHz
- Customizable version: customizable frequency range 370-560MHz, bandwidth 20-60MHz
- Power Consumption:10V,0.55A@1000mW, 200Hz, 1:128
- Antenna Connector:SMA
- Input Voltage:7V~13V
- USBPort:Type-C
- XT30Supply Range:7-25V(2-4S)
- Fan Voltage:5V

Note: Please assemble the antenna before powering on. Otherwise, the PA chip will be damaged permanently.
Note: Please DO NOT use 6S or above battery to power up the Micro TX module. Otherwise, the power supply chip in the Micro TX module will be damaged permanently.
Micro TX module is compatible with radio transmitter which has the micro module bay(AKA JR or SLIM module bay).
Indicator Status
TX Module Indicator Status Includes:
| Indicator Color | Status | Indicating |
| Rainbow | Fade Effect | Power On |
| Green | Slow Flash | WiFi Update Mode |
| Blue | Slow Flash | Bluetooth Joystick Mode |
| Red | Fast Flash | RF chip not detected |
| Orange | Slow Flash | No handset connection |
| Solid On | Connected and color indicates packet rate | |
| Slow Flash | No connection and color indicates packet rate |
The packet rate corresponding to the RGB indicator color is shown as below:
D50 is an exclusive mode under ELRS Team900. It will send the same packets four times repeatedly under 200Hz Lora Mode, with a remote control distance equivalent to 200Hz.
100Hz Full is the mode that achieves16-channel full resolution output at the 200Hz packet rates of Lora mode, with a remote control distance equivalent to 200Hz.
Transmitter Configuration
TX module defaults to receive signals in the Crossfire serial data protocol(CRSF), so the TX module interface of the remote control needs to support CRSF signal output. Taking the EdgeTX remote control system as an example, the following explains how to configure the remote control to output CRSF signals and control the TX module using Lua scripts.
CRSF Protocol
In the EdgeTX system, select “MODEL SEL” and enter the “SETUP” interface. In this interface, turn off Internal RF(set to “OFF”), turn on External RF, and set the output mode to CRSF. Connect the module correctly and then the module will function properly.
Settings are shown as below.
Lua Script
Lua is a lightweight and compact script language. It can be used by being embedded in radio transmitters and easily reading and modifying the parameter set of modules. The directions for using Lua are as below.
- Download the elrsV3.lua on browser.
- Save the elrsV3.lua files onto the radio transmitter’s SD Card in the Scripts/Tools folder.
- Press the “SYS” button or the “MENU” button on the EdgeTX system to access the “Tools” interface where you can choose “ExpressLRS” and run it.
- The below images show the Lua script if it runs successfully.
Button
The 5-D button on the Micro TX module can be used to change the usage parameters of the TX module. The botton functions are described as below.
Note: Press Bind/Update to enter TX module WiFi mode, this no longer responds to button functions and cannot be exited. After completing the WiFi firmware upgrade, it must power off and restart.
Bind
- Put the receiver into binding mode and wait for connection.
- Press Bind/Update to switch to the Bind position, short press the button to enter the binding mode.Or you can enter binding mode by clicking “Bind” in the Lua script. If the indicator has turned solid, it indicates that the device has been bound successfully.
Note: If the transmitter module has been reflashed with a binding phrase, then using the above binding method will not be bound to other devices. Please set the same binding phrase for the receiver to perform automatic binding.
External Power
The power consumption of the TX400 Micro TX module when using a transmission power of 500mW or above is relatively high, which will shorten the usage time of the remote control. Users can provide power to the module by using an XT30 adapter cable to connect to an external battery. The usage method is shown in the following figure.
Note: When the voltage of the remote control battery or external battery is low, please do not use the 500mW or above. Otherwise, the module will be rebooted due to insufficient power supply, rusulting in disconnection and loss of control.
Q&A
[Q1] Unable to enter LUA script.
Possible reasons are as follows:
- The TX module is not well connected to the remote control, need to check whether the JR pin of remote control and the TX module socket are in good contact.
- The version of ELRS LUA script is too low, and needs to be upgraded to elrsV3.lua.
- The baudrate of the remote control is too low, set it to 400K or above(if there is no option to set the baud rate of the remote control, you need to upgrade the firmware of the remote control, eg. the EdgeTX needs to be V2.8.0 or above).
Related products
By using this website you agree to our Privacy Policy.

